
Step 1: Build Your Base
 One square of plywood for your base will cost you less than $10 at your local hardware store. You might even have one lying around at home from an old project. Cut the square down to a size of about 12” x 12”.
Afterward, you’ll want to drill a hold in the center of the plywood to fit a 1.5” wood screw. A cordless drill will work here, or you might be able to form the hole by hand.
One square of plywood for your base will cost you less than $10 at your local hardware store. You might even have one lying around at home from an old project. Cut the square down to a size of about 12” x 12”.
Afterward, you’ll want to drill a hold in the center of the plywood to fit a 1.5” wood screw. A cordless drill will work here, or you might be able to form the hole by hand.
Step 2: Attach The Post
 While the body of your scratching post will be made primarily of cardboard, it has to have a base to build around. That’s where a wood pole will come in handy. Square and circular wood poles are available at any hardware store and range between $1 and $3 depending on the size. For this project, you’ll want to go with either a 36” or 48” post, depending on how high you want to make your tower. The higher you make it, the more cutting you’re going to have to do. Keep that in mind.
Drill a hole in the bottom of the pole, then take the wood screw and drill it through the bottom of the plywood and into the base of the pole to attach them together.
While the body of your scratching post will be made primarily of cardboard, it has to have a base to build around. That’s where a wood pole will come in handy. Square and circular wood poles are available at any hardware store and range between $1 and $3 depending on the size. For this project, you’ll want to go with either a 36” or 48” post, depending on how high you want to make your tower. The higher you make it, the more cutting you’re going to have to do. Keep that in mind.
Drill a hole in the bottom of the pole, then take the wood screw and drill it through the bottom of the plywood and into the base of the pole to attach them together.
Step 3: Design Your Structure
 The shape of your structure is entirely up to you. The inspiration for this project came from the Sky Scratcher, so that might help you with some ideas. Beginning with a base that starts out wider and narrows toward the top is a good choice as it’ll help provide balance while also giving your cat something to lean on and stretch across without the fear of her tumbling it over.
Using cardboard boxes, trace each section of the tower out before cutting it. Keep in mind the total height of your tower, which should end up between approximately 32” or 38” inches, depending on which pole length you went with.
If you’re varying your sections to create a unique design, set a limit for each part. For example, your base should be stacked 4”, the next portion 3.5” and so on until you reach the total height you’re aiming for.
The shape of your structure is entirely up to you. The inspiration for this project came from the Sky Scratcher, so that might help you with some ideas. Beginning with a base that starts out wider and narrows toward the top is a good choice as it’ll help provide balance while also giving your cat something to lean on and stretch across without the fear of her tumbling it over.
Using cardboard boxes, trace each section of the tower out before cutting it. Keep in mind the total height of your tower, which should end up between approximately 32” or 38” inches, depending on which pole length you went with.
If you’re varying your sections to create a unique design, set a limit for each part. For example, your base should be stacked 4”, the next portion 3.5” and so on until you reach the total height you’re aiming for.
Step 4: Cut Out Your Pieces
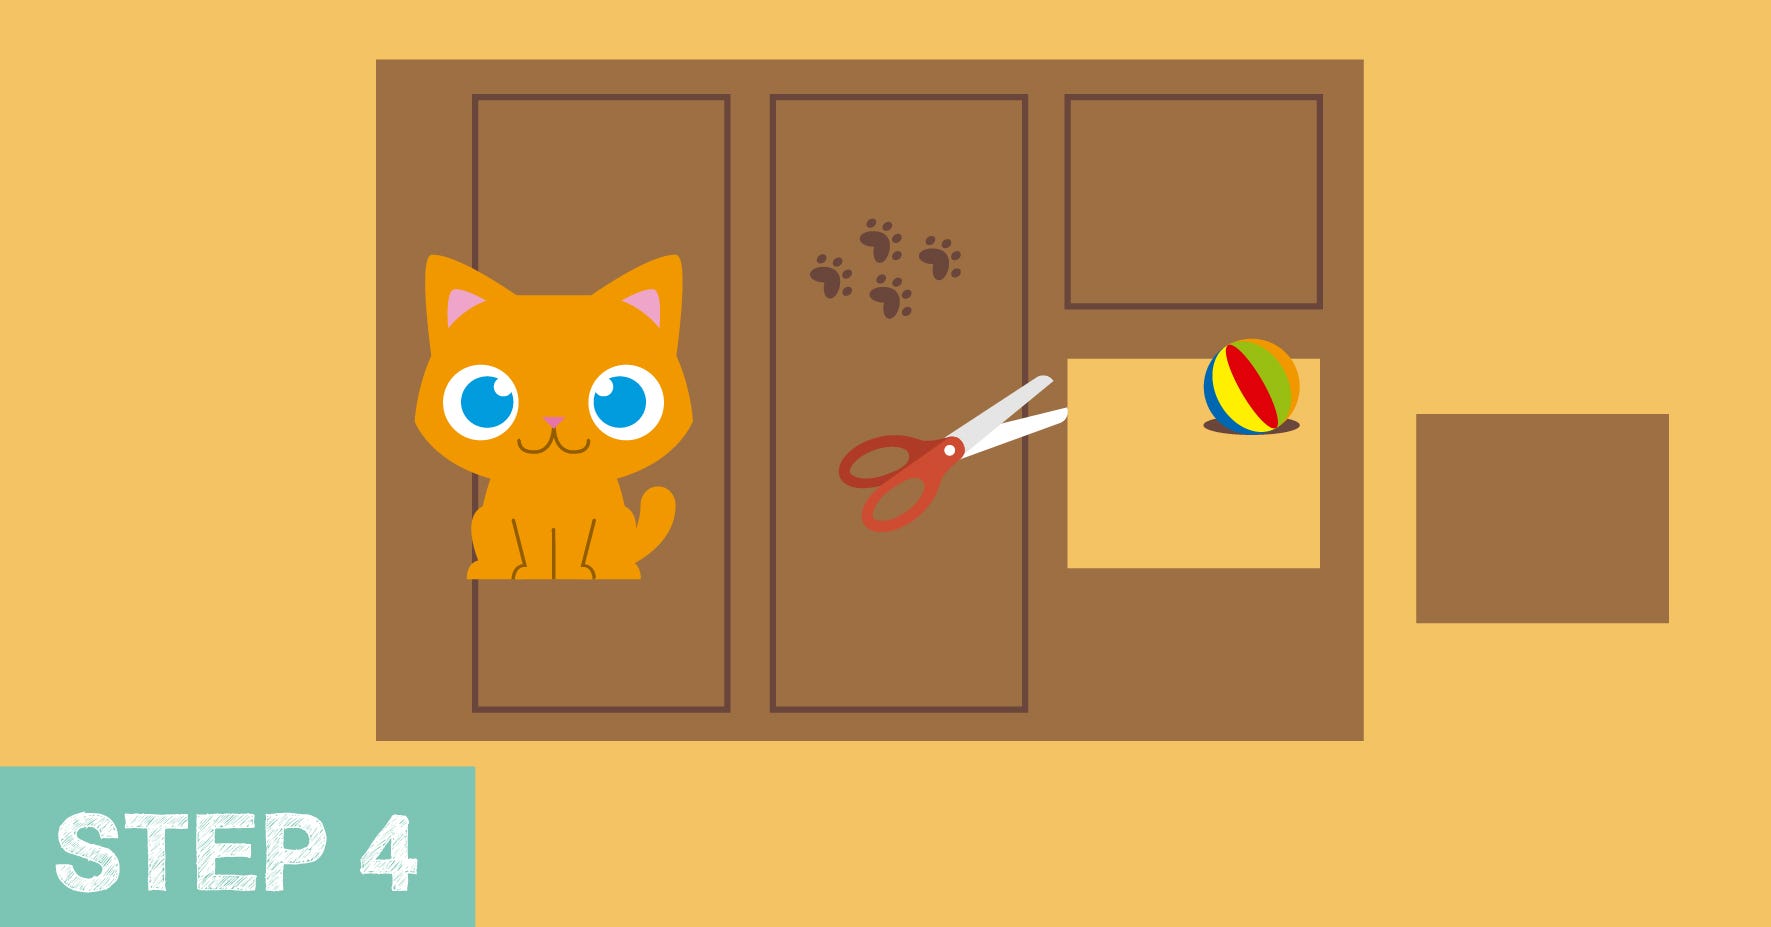 Using a box cutter, cut out the pieces of your structure. Cardboard boxes are typically thin, so you’ll be cutting out a few of the same shape for each portion. You might also be able to find blocks of corrugated cardboard at a hardware or craft store in place of multiple thin boxes. You’ll be building the tower around the wood pole, so you’ll need to cut a square or circle in the middle of each piece large enough to fit around the pole but not so large it’ll flop around once you put it on.
Step 5: Start Stacking
 Once you’ve cut out all the pieces for your tower, begin stacking them around your pole to create your tower. You can glue the pieces together to make them sturdy if you choose, but this will prevent you from changing the shape of the tower or taking it apart down the road. It’s up to you. If you're feeling froggy you could even add a second pole to the plywood base and create two towers in one.
Simple Cheat
It might've crossed your mind while reading this that the plywood base and pole aren't really necessary, and you're not wrong. They're there to provide support, but if you're not worried about your cat knocking the scratching post around the floor (she might even prefer that) you can simply cut out the layers of cardboard and glue them on top of one another to create one long tower or post for her to play with. It's up to you! Now, sit back and watch your cat have a blast with her new cardboard scratching post!
Ben Kerns is a freelance writer, photographer and outdoor adventurer based out of San Diego. When he’s not busy working you can find him hopping across the world looking for new places to climb big rocks. He’s also fanatically obsessed with funding his outdoor obsessions for as little money as possible.
