Design Your Own DIY Doggie Door


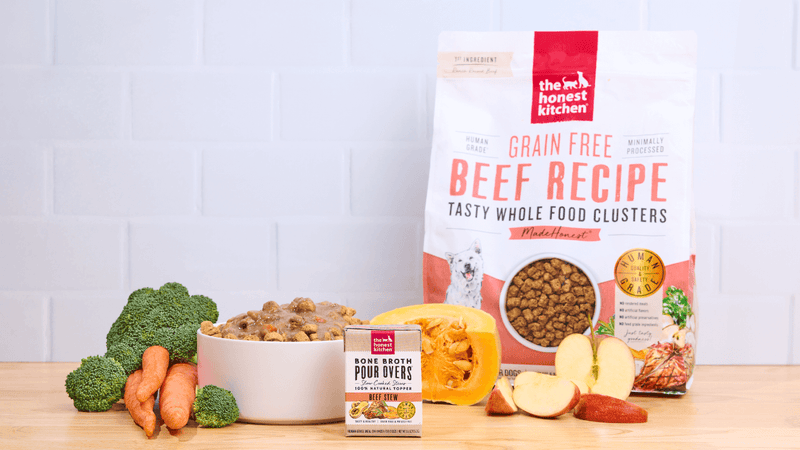
Browse our most loved healthy, human grade dog food, treats and topper recipes and get inspired to upgrade your dog’s bowl.
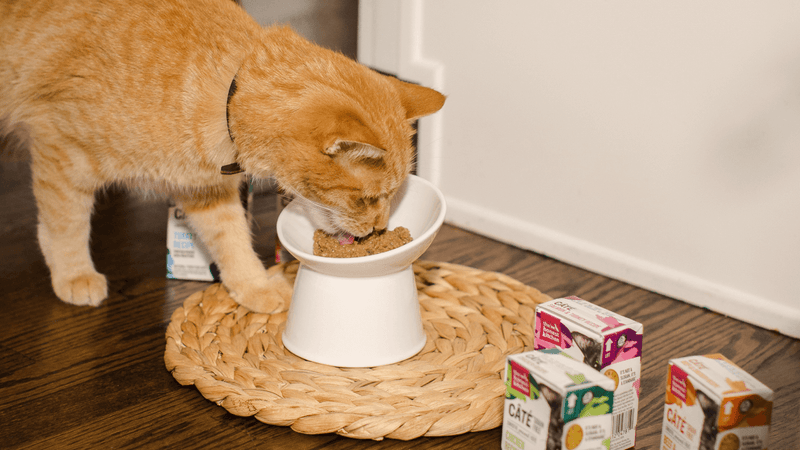
Browse our most loved healthy, human grade cat food and treat recipes and get inspired to upgrade your cat’s bowl.