
Reuse those old cardboard boxes for temporary litterboxes!
I've often got foster kittens in the house as I volunteer for a local kitten rescue. When young kittens begin using a litterbox, at three to four weeks of age, they are much too tiny to clamber over the sides of a standard litterbox. I like to make them a temporary litterbox by reusing cardboard boxes. These boxes can also work for adult cats. A year or so ago my neighborhood was evacuated due to a wildfire. As I put my adult cat in a carrier, I tossed a cardboard box in the car, too, and when we got to a safe place, I made him a temporary litterbox using the cardboard box. Obviously, a cardboard box isn't a long-term litterbox solution; but it will work temporarily and is easily replaced. I've got a few tricks to help you and your kitten, too.

You will need an appropriate size cardboard box, scissors, duct tape, potty pads, and cat litter.
What You Need to Make a Cardboard Litterbox
You will need a box (free with any THK cat food purchase!) that when cut down, will fit your kittens or cat. An adult is going to need a larger and sturdier box than a kitten will, need but both need room to move around and find the right spot. I've used the Honest Kitchen ten pound food boxes for kittens and their larger case size shipping boxes for an adult cat. You can also look at any cardboard boxes you happen to have around the house. You will also need heavy duty scissors or a box cutter, some duct tape, and litter. I also like to use potty pads under the litter, but that's optional.

Once the box is cut to size and the sides gave been covered in duct tape, cut a potty pad to fit the box.
Shop Cat Food Best Sellers
Assembling your Cardboard Litterbox
This is the easiest do it yourself project you will ever do.
- Look at the box you've chosen and decided on its orientation—which side is down, up, and the sides.
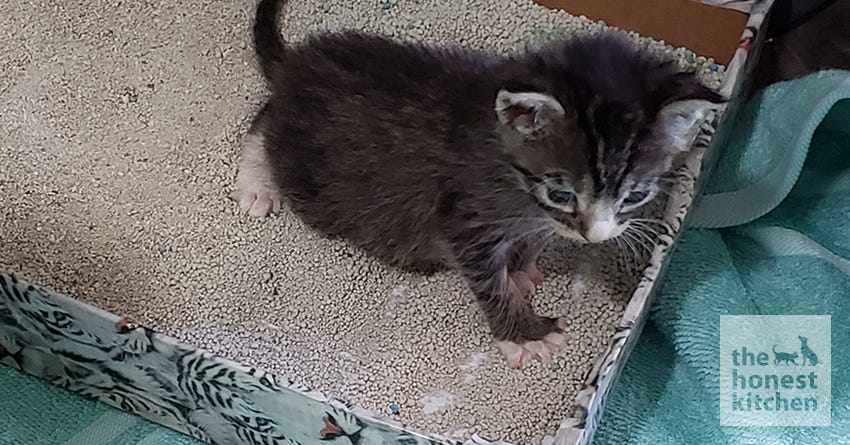
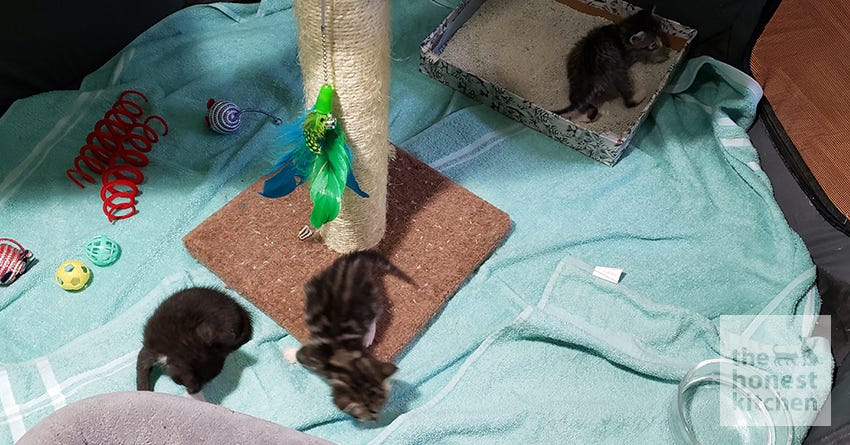
- Look at the sides and decide how high you want them. For my three week old foster kittens, the sides may only be a couple of inches high. The litter box in the photos was made for and used by those kittens. For an adult cat, the sides can be four to five inches tall or even higher.
- Once the sides are cut, take your duct tape and cover the sides, inside and outside. Fold one strip over the cut edges of the sides. This will serve as reinforcement for the walls and protect them somewhat from moisture.
- Then look at the bottom of the box, too, and tape over any folded edges or weak spots.

When the potty pad is down, cover it with litter but not too much.
Potty Pads and Litter
If the box is only going to be used once, such as in a car ride, then you can just put litter in it. However, if it's going to be used several times, then line it with a potty pad and put the litter on top of the potty pad. Cut the potty pad to size and place it in the bottom of the box. Trim it to fit. If your cat likes to scratch in his litter, use a couple of small pieces of duct tape to anchor the potty pad. Don't put a lot of litter in the box; you just need enough to absorb what the cat does. Then scoop the waste. If you use too much litter, it will end up everywhere. Plus, the box may not be sturdy enough to hold a lot of litter.
Clean the box often and replace when it smells bad.
Replace it Often
If your cat or kittens need a temporary litterbox for several days, be prepared to replace it often. Even with a potty pad under the litter, the cardboard will absorb moisture and odor. However, used cardboard boxes are easy to come by and these boxes are easy enough to make.


